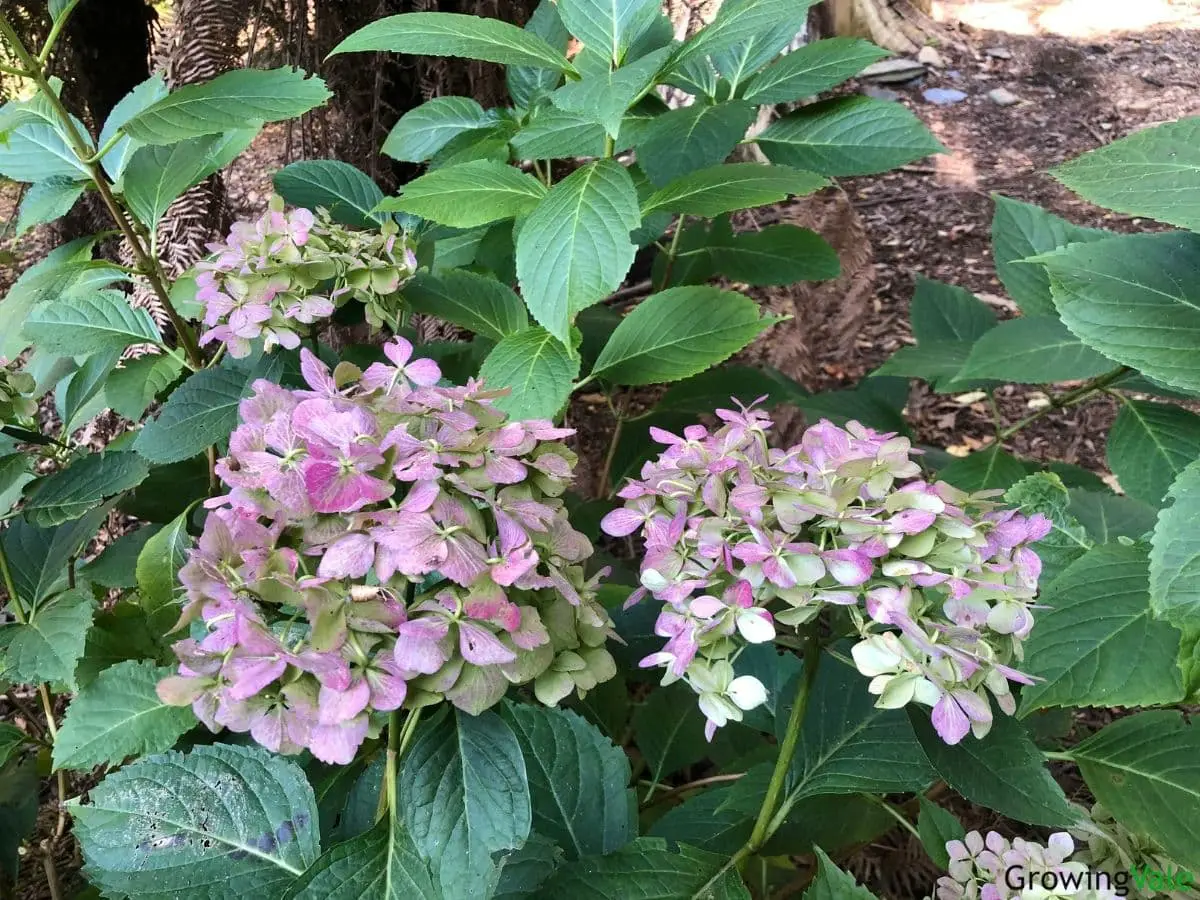
One of the most loved summer-flowering shrubs is the hydrangea, particularly a bigleaf variety.
Planting hydrangeas is a very rewarding gardening activity. The hydrangea is a traditional gardener’s favorite and the immense, showy blooms add long-lasting color even when many other perennials have faded.
Propagating hydrangea is most usually carried out by layering or by taking stem cuttings. A stem cutting will be a reproduction of the parent plant sharing the same characteristics.
A hydrangea that has been grown from seed however will be unique. This is one reason that some plantsmen prefer to grow their hydrangeas from seed despite the extra work and time that it will require to obtain a flowering plant.
Do All Hydrangea Have Seeds?
Not every hydrangea type will produce viable seeds. Some shrubs will not produce seeds that can germinate.
Hydrangea arborescens (wild hydrangea) is one example of a hydrangea that doesn’t produce seeds at all. The only way to propagate this variety of hydrangea shrub is by layering or taking a cutting.
Bigleaf hydrangea shrubs (H. macrophylla) do produce seeds that, although tricky, can be germinated. Bigleaf hydrangeas include the most widely grown hydrangeas, mopheads, and lacecaps.
Surprisingly, it is not the showy large blossoms that contain the seeds, but the ring of small, rather insignificant flowers around the edge of the cluster.
How to Plant Hydrangea Seeds
Choose Your Plant
Once you’ve identified the hydrangea plant you want to propagate by seed, you should carefully watch for the plant to bloom and note the date it starts to flower.
After around 10 weeks, the flower’s seeds will have developed to maturity. The flower will start to fade in color. At this stage, deadhead the bloom to remove the flower cluster that contains tiny hydrangea seeds.
Dry Your Flower
Put these flowers in a paper bag and leave them to dry for about a week. Once they have dried out and turned completely brown, shake the bag. The seeds which are very tiny should drop to the bottom.
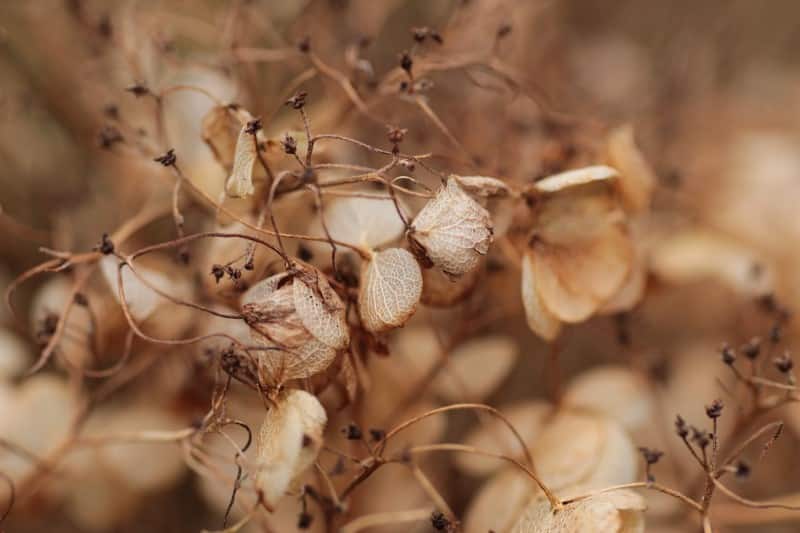
So, what do hydrangea seeds look like? You may not notice them at first, and the seeds may look like dust. Carefully extract the dark-colored seeds, using a sieve to help if necessary.
Get Sowing!
The cleaned seeds should be sown straight away.
To activate and speed up the germination process, cover the seeds with damp kitchen paper. Leave them for a couple of days in a warm, dark place.
The seeds then need to be transplanted into seed trays, ideally ones with a plastic lid. Use potting compost and just lay the seeds on the soil surface. They must not be buried.
Keep the seeds moist. The best way to water them is to use a mist spray. This prevents the risk of over-watering and soaking the compost.
Be Patient
The hydrangea seeds need to be kept warm and moist as they start to sprout and grow. It will take a couple of weeks for the hydrangeas to sprout, maybe a little longer, so you do need patience!
Don’t be tempted to transplant the seedlings into pots too soon. They should have two sets of leaves before they are disturbed.
Transplant into Pots
Once the little hydrangeas have two sets of true leaves, they are ready to pot on. The seedlings should be placed in pots, and they still need to be kept damp, protected from the cold, and also from excess heat. The potting compost will provide all the nutrients they require at this stage, so it’s not necessary to fertilize them.
If the weather is favorable, you can move the seedlings outside to a place that doesn’t receive too much direct sunshine. Remember to check them regularly.
These baby hydrangeas can now be grown in the same way as rooted stem or layered cuttings.
Conclusion
That’s it! You are now on your way to producing a unique hydrangea plant that has never been grown before. An exciting thought and just maybe one day, it will be your hydrangea which gets a “Plant of the Year Award”!