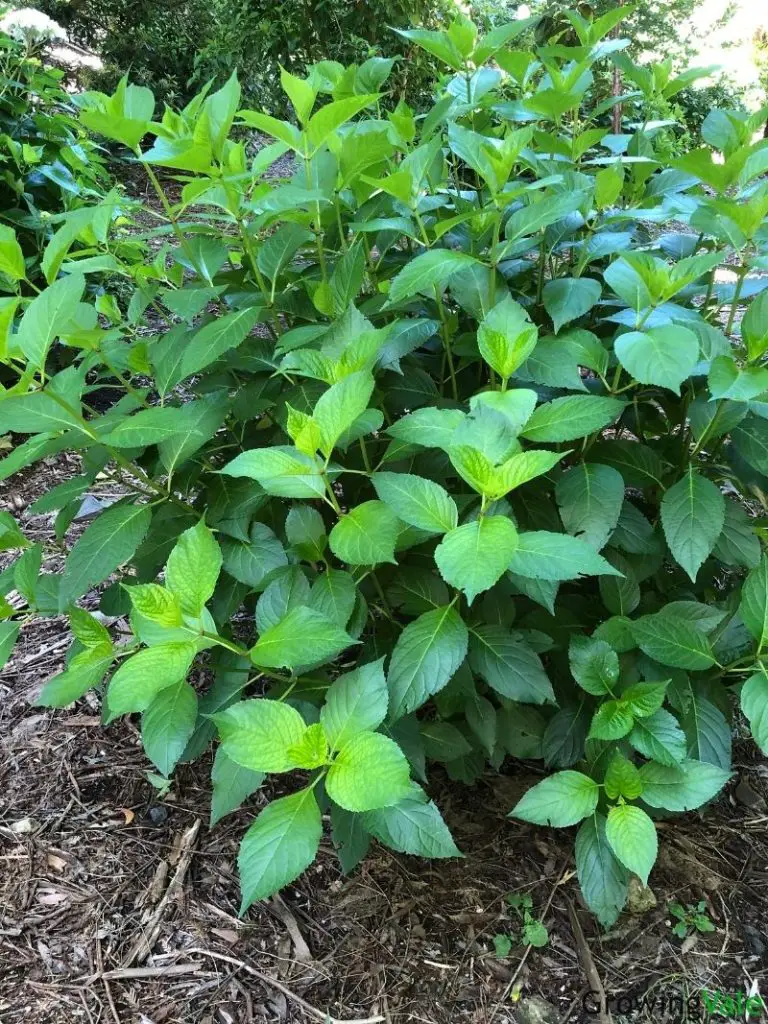
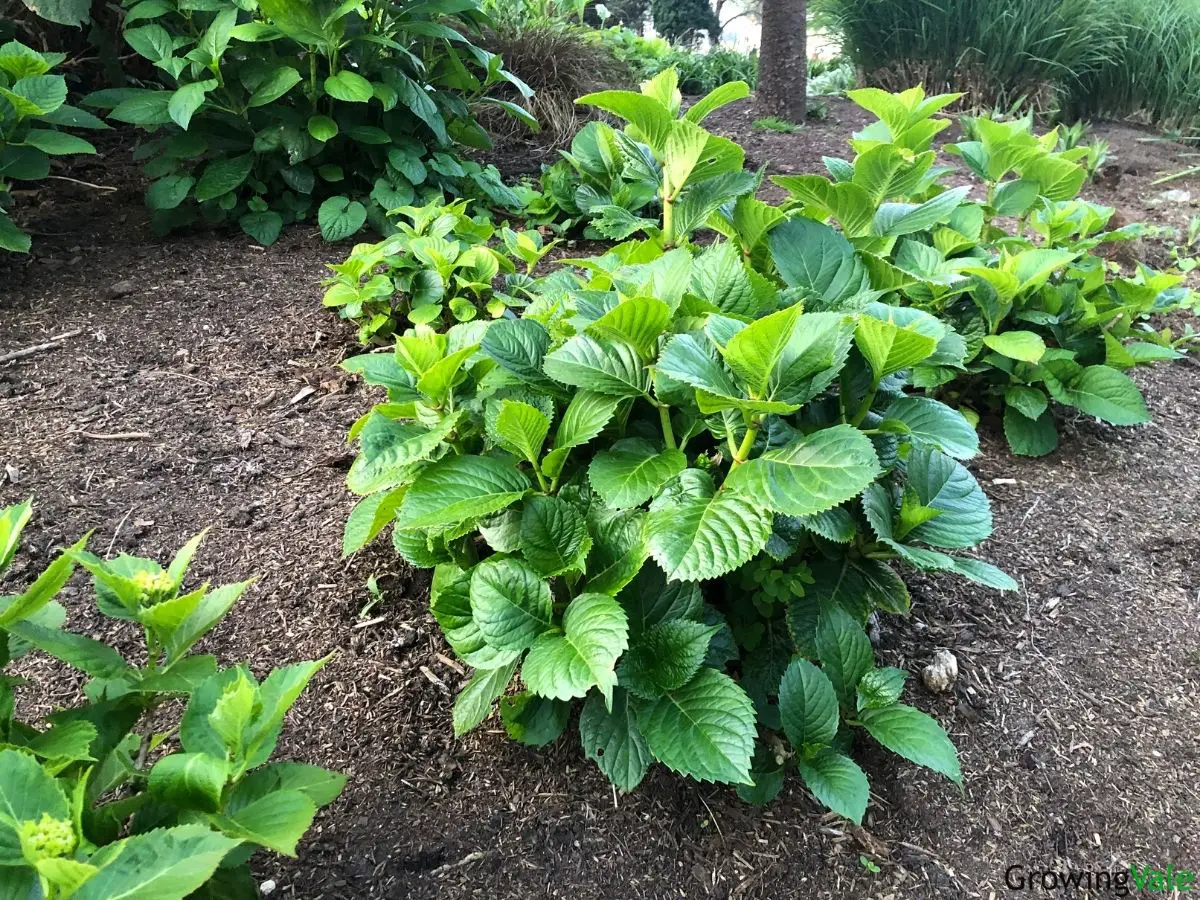
Like millions of gardeners worldwide, you have decided to include a hydrangea shrub in your planting scheme. It’s hardly surprising that the hydrangea is probably the most widely grown, flowering shrub.
The flowers seem to go on forever, the magnificent blooms herald “Summer” like no other plant, and unlike many other beautiful flowers, the hydrangea never goes out of fashion!
When to Plant Hydrangeas
The answer to this question depends on where you have obtained your plant. If you have bought a hydrangea from a nursery or retail outlet, then it will most likely be growing in a pot or other container. If you have been given a hydrangea from a neighbor or friend, then lucky you! But it will probably be a bare-rooted plant and will need slightly different attention.
Pot-grown hydrangeas can theoretically be planted at any time of the year because you will not be disturbing the plant’s roots when you transplant it. However, there are some important caveats to bear in mind.
A plant does not like to be disturbed when it is under any sort of stress. So avoid mid-winter when the ground is freezing (and possibly even too hard to work) and avoid mid-summer when there is a risk of drought conditions and very hot daytime temperatures.
When Is the Best Time to Plant Hydrangeas?
The best time to plant your shrub, whether container-grown or bare-rooted, is early summer after the risk of late frosts has passed. Even if your plant is in a pot, when it is in the garden center, it could be moved and protected during cold spells — but once you have planted it in your garden, it is no longer moveable.
The next best time to plant is early in the autumn, but once again be wary of an unexpected frost or a cold wind that can damage the plant’s foliage and even kill emerging flower buds.
And finally, although it might seem obvious, don’t plant your new shrub and then go away on holiday tomorrow! You need to keep an eye on it until it is settled and make sure it has plenty of water.

Where to Plant Hydrangeas
Sun or Shade
Once you have your plant, the most important consideration is where to plant it. All hydrangeas will do best if they are somewhere where they will have morning sun and shade during the afternoons. Providing the right growing conditions for your hydrangea shrub will result in a happy, healthy plant that will reward you with spectacular blooms.
Of all the hydrangeas, it is the one that is most commonly grown that must have sufficient sunlight to bloom well. Bigleaf hydrangeas, which include the showy mophead and the delicate lacecap varieties, need around six hours of sunshine to perform well. Without this, they will still thrive but will produce few, if any, flower heads.
The panicle hydrangea is the one to grow if you have a very sunny and very hot garden. The PeeGee hydrangea (Hydrangea paniculata) will do well even if it is in a position that receives all-day sun, providing it also receives adequate water.
Oakleaf hydrangeas (H. quercifolia) are also fairly tolerant of both sun and shade. However, flowers will be longer-lasting if they receive some shade and the autumn foliage will be brighter and more attractive if they receive an adequate amount of sun.
Size
Remember to check the potential height and spread of your hydrangeas before you plant the shrub. Some hydrangeas grow enormous, whilst others have been developed to be more restrained. There are even some cultivars that have been bred to remain compact and these are ideal for container growing.
You need to assume that a standard mophead or lacecap variety of hydrangea will grow to around 5 feet (1.52 m) in both height and spread. It is difficult to keep a plant smaller than it naturally wishes to grow, even with regular pruning.
Soil
The hydrangea shrub is a plant that likes slightly acidic soil, like rhododendrons and azaleas. But more important than the acidity level is that the soil is free draining. If the soil is heavy, you need to add a soil conditioner before planting your shrub. Never allow a hydrangea’s roots to rest in waterlogged soil, or they will rot, and the plant will die.
How to Plant Hydrangeas
Once you have chosen your planting site, it’s time to get digging. Dig your new hole about three times as wide as the root ball. You can dig your hole slightly deeper than the plant in order to provide some soft, crumbly soil for the newly planted hydrangea’s roots. However, you mustn’t plant it deeper than the depth the plant is planted in the pot.
When you remove the plant from the pot, place it in the hole and carefully loosen the roots around the edge. This will make it easier for the plant to become established in its new surroundings quicker.
Add some bark mulch around the plant’s base, and make sure that the plant sits level and on solid ground.
You can then backfill around the sides if necessary and water the plant in well. You should water it very well initially, allow the excess water to drain away, and then re-water.
Keep the plant well-watered for the first growing season. After this, the plant should be established in its new position and its roots will be able to absorb the water and the nutrients from the soil. Always water the base, and avoid overhead irrigation.
Hydrangea Spacing
If you are planning on planting a hedge or lining a pathway with hydrangeas, you will be planting multiple plants. It is important to know how far apart the bushes should be planted. The planting distance between the hydrangeas should be the final spread of an adult, mature plant plus 1 foot.
Transplanting in Ground Hydrangeas
When to Transplant your Hydrangea
You may realize that your hydrangea has not been planted in a good position and wish to move it. Whatever the reason, if you wish to relocate or even divide your shrub, you should only do this when it is dormant. Assuming it is a hydrangea like a mophead or lacecap which flowers on old wood, the new buds will have already formed once the leaves have fallen.
Before you transplant your shrub, water it well and leave it for 24 hours before you dig it up.
Ideally, choose a day that is overcast for transplanting your hydrangea. This will help the roots not to dry out whilst they are in-between homes.
Prepare to Move your Hydrangea
Once you are ready to transplant the shrub, tie the branches loosely together. This will make it easier to dig around the plant and equally when you come to move it as it will be more manageable.
Dig!
This is a very important stage in the transplanting process. You need to start to dig in a circle around 2 feet from the main stem. You want to be able to extricate the roots in the root ball, but not cut them. Once you have access to the roots, continue to dig until the root ball is loosened and can be lifted from the ground.
If the hydrangea is old or well established, it may be extremely heavy. This will make it difficult to move without either mechanical or human help.
Replant the Hydrangea
The hole should be partially filled with water before you replant your hydrangea. Loosening the soil around the root ball will enable the plant to establish itself in its new environment quicker.
Try to replant as quickly as possible. This will save the roots from drying out and the plant will suffer less from stress.
Once you have set the plant in the hole, check that it is straight. Add some compost or well-rotted manure to the soil, as this will help the plant to take off quickly. The plant should not be planted any deeper than it was originally.
Water it again thoroughly. Don’t be alarmed if the hydrangea starts to wilt or droop after a couple of days, as this is quite normal. Within a week, it should have righted itself.
For the first growing season after transplanting, the hydrangea needs a bit of looking after. Keep it well watered through the hot, dry days until its roots are able to absorb the moisture.
Transplanting Container Grown Hydrangeas
Pot-grown hydrangeas need to be treated differently from shrubs grown in the soil. Often, they are small plants and are cultivars that have been bred specifically to remain compact.
When to Re-pot a Hydrangea
If the roots of your pot-grown hydrangea have started to appear outside or below the pot, this is a sure sign that it’s time to move the plant to a larger container. Sometimes you will notice small roots growing on the soil’s surface. Usually, it is necessary to re-pot every couple of years.
Once the plant has outgrown its pot, it will no longer be able to take up moisture and nutrients from the soil. If you remove the plant from its pot, you will see that the roots are filling the pot, and that there is no longer space available for the compost.
The Best Time to Re-Pot a Hydrangea
Unlike an in-ground hydrangea, you want to re-pot when the roots are active. Instead of waiting until the winter, you should re-pot the hydrangea in spring or summer.
How to Re-pot a Hydrangea
Select a pot carefully; its diameter should only be 1 or 2 inches (5.08 centimeters) larger than the current pot. This will encourage better blooming.
Aftercare
Once you have transplanted your hydrangea into a larger pot, you should water it well. Water it once, let the water drain away, and then water it again.
Keep your repotted plant well watered for the first growing season until its roots have become established in their new container.
Although your newly potted shrub mustn’t dry out, it is equally important that its roots are not left in waterlogged soil. Soggy soil is the main cause of root rot, which will quickly kill your hydrangea.
Conclusion
Once planted, transplanted, or repotted, your hydrangea will quickly settle down. If it droops a little at first, don’t worry, as it will sort itself out within a week or so.
The key to successful planting or transplanting hydrangeas is to provide them with a favorable growing environment. This will reduce the likelihood of stressing the plant, and it will recover quickly from the move.

